|
Northrop XP-56
Black Bullet
by
Alex Bernardo
|

|
|
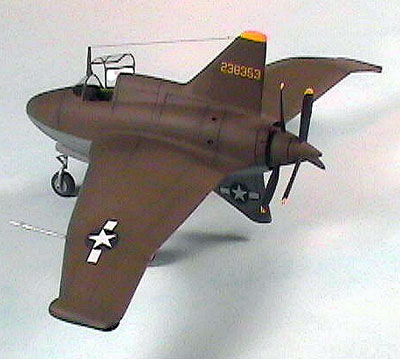
Northrop XP-56
Black Bullet |

MPM's 1/72
scale XP-56 Black Bullet is available online from Squadron.com
The first XP-56 made its maiden flight on September
6, 1943, and flew at an altitude of four feet at a speed of 140 mph.
 The
second XP-56 first flew from Roach Lake on March 23, 1944, reaching 2500
feet. It flew a total of 10 flights, during which stability and control
problems were experienced. The
second XP-56 first flew from Roach Lake on March 23, 1944, reaching 2500
feet. It flew a total of 10 flights, during which stability and control
problems were experienced.
Given the problems with the design, and the advent of
the jet age, even Jack Northrop agreed that, "I think it was a bust.".
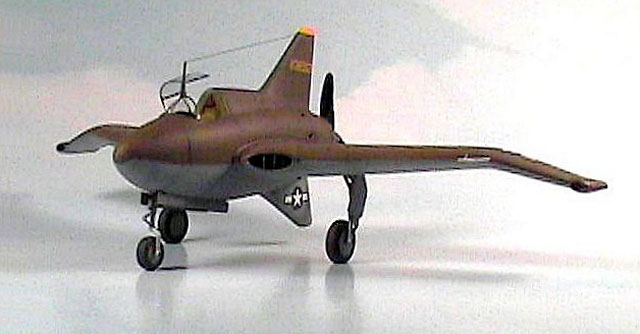
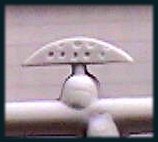
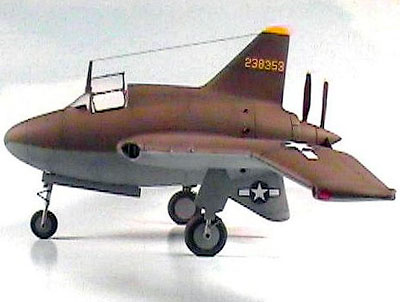
Its powerplant was the huge Pratt&Whitney R-2800-29
Double Wasp driving two three-blade, contra-rotating “pusher” propellers.
The aircraft had a wide-track tricycle undercarriage and was to be heavily
armed for its size – carrying two 20mm cannon and four .50cal guns in the
nose. Lateral and directional control was by means of pairs of spoilers
hinged flush on the upper and lower surfaces of the drooped wingtips.
Pitch was controlled by means of the elevators, mounted intobard of the
drooped wingtips.
Top speed was 467mph!
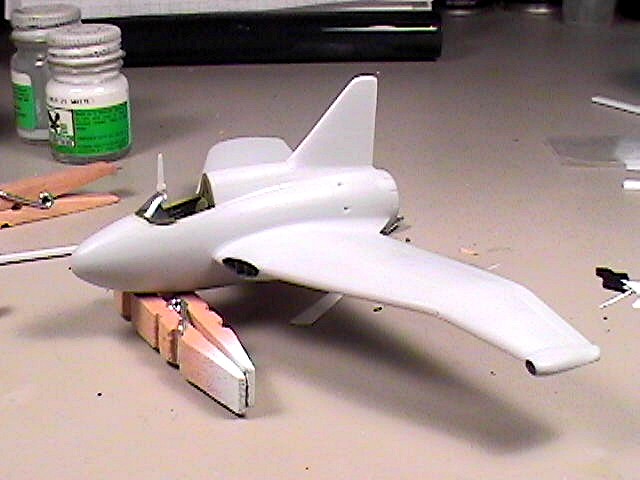
 This
is the 1/72 scale MPM kit of the Black Bullet. This
is the 1/72 scale MPM kit of the Black Bullet.
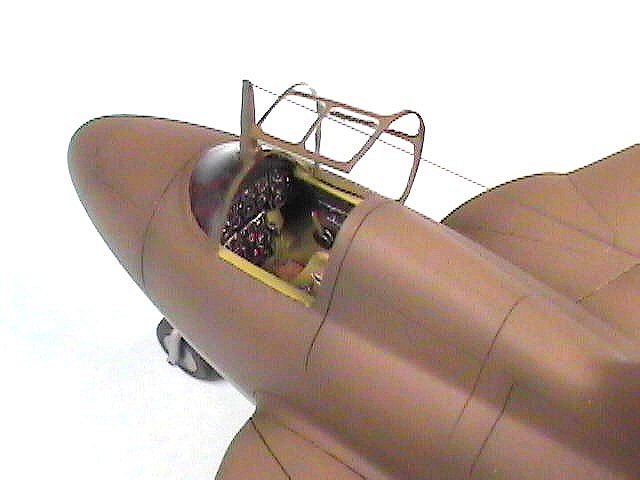
A piece of plastic for the instrument panel and over
sized control stick and seat were all that was supplied for the cockpit..
The kit did include a resin center console.
I made the following additions and modifications:
-
Built a new main
instrument panel from sheet styrene.
-
Used Reheat brass
instrument bezels to provide detail.
-
Made left side console
from sheet styrene.
-
Used electronic wire for
adjustment wheel.
-
Highlighted all black
surfaces with a silver pencil.
-
Replaced control stick
with a P-40 control stick. Used carved styrene for control stick shroud.
-
Filed down both sides of
the seat to give a more scaled look.
-
Used painted tape for
seat belts.
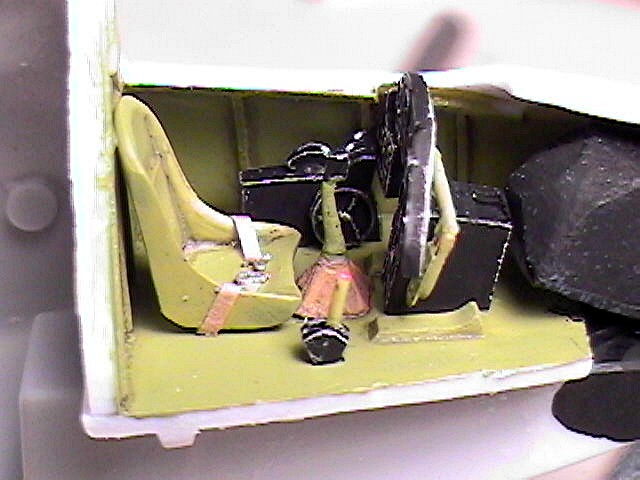
-
Cut a piece of styrene
for main instrument panel shroud.
-
Used “Heat n Smash”
technique to create canopy.
-
Used drilled out styrene
rods for exhaust ports.
-
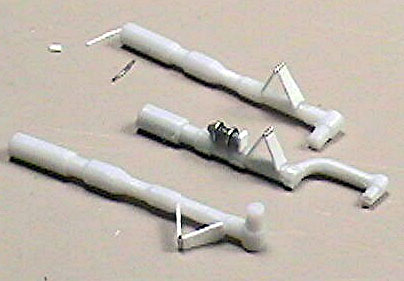
Gear doors were too
thick. Reduced thickness by 1/3 by filing them down.
-
Added oleo scissors and door support brackets on
all landing gear.
 The
model was painted with the following acrylic paints: The
model was painted with the following acrylic paints:
Tamiya
-
Clear gloss
-
Clear red
-
Clear green
-
Olive drab (Dark)
Polly Scale
-
Olive drab
-
Neutral gray F505086
-
Neutral gray F505384
-
Clear flat
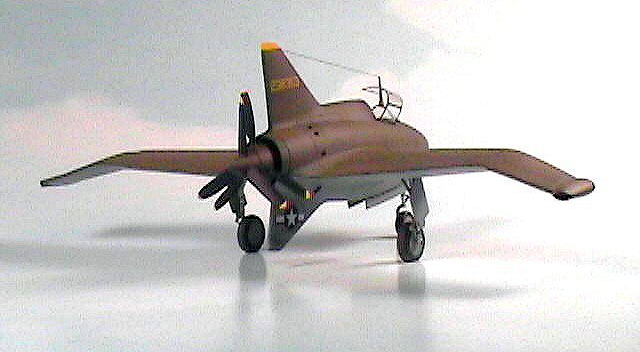
The model was painted with two shades of Olive Drab
and Neutral Gray. The darker shade paints were applied on the panel line
areas. This was followed by the lighter shade paints for overall coverage.
The entire model was over coated with Tamiya clear
acrylic paint. Clear flat coat was applied after the decals finished
setting.
The kit decals went on the model nicely.
 The
Northrop logo was not included. I cut a triangle from a piece of orange
decal then cut tiny strips of black decal for the bird logo. The
Northrop logo was not included. I cut a triangle from a piece of orange
decal then cut tiny strips of black decal for the bird logo.
Click the
thumbnails below to view larger images:
Model, Images and Text Copyright © 2003
by Alex Bernardo
Page Created 11 May, 2003
Last Updated
17 March, 2004
Back to
HyperScale Main Page |
 Home |
What's New |
Features |
Gallery |
Reviews |
Reference |
Forum |
Search
Home |
What's New |
Features |
Gallery |
Reviews |
Reference |
Forum |
Search