|
Yakovlev Ya-18 Max
by
Rick Cotton
|

|
|
Yakovlev Ya-18 Max |

HyperScale is proudly supported by Squadron
Well, if there’s ever a
contest category called “what the heck is that?” this one’s a shoo-in!
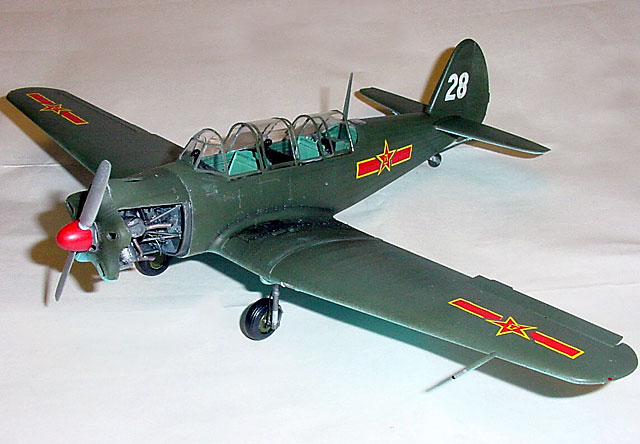
The Yakovlev 18 Max Trainer willnever win any aircraft beauty contests –
it was designed to be tough, simple, and easy to maintain trainer and
utility aircraft. It filled all those requirements exactly and then some.
Trumpeter’s kit of this
obscure-to-western-eyes aircraft is an absolute gem…superb fit, excellent
detail, very nice decals, photoetch hinged control surfaces, film
instruments…you get a lot in this kit.
The only problems I
encountered were when I started with the cockpit. There were some ejector
pin marks in the seats and in the cockpit sidewalls. These were easily
filled or sheeted over, and construction proceeded.

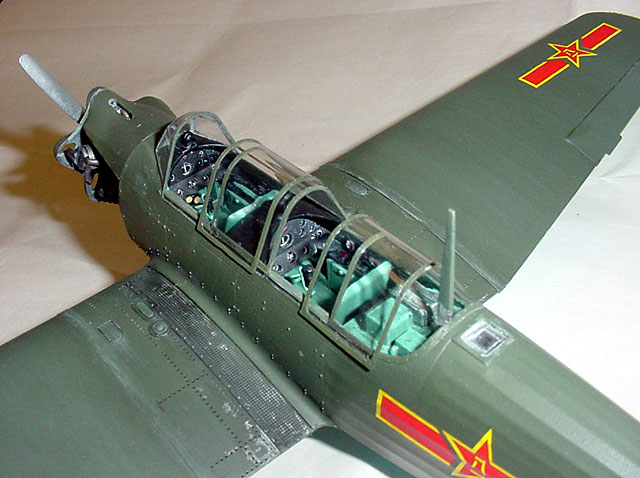
Trumpeter provides film
instruments that sandwich between plastic parts to provide a very nice
instrument panel. There are multiple handles and levers for both throttle
consoles, and compasses for the tops of the coamings. The sidewall has
molded-on details…Most of it is quite good, but I found the radio panels a
bit soft on detail, so I simply scratchbuilt two new ones and installed
them right over the top of the molded-on ones.
I painted the cockpit
Testor's Russian Interior Blue-green, with flat black panels, consoles and
coamings. I washed everything with black-brown tinted Future, then shot
Testors Acrylic Flat, and applied silver scuffing with a Prismacolor
silver art pencil. Trumpeter supplies no seat belts, so I added belts and
photoetched hardware from my spares box. The “office” locks securely into
slots on both sides of the fuselage…no guesswork.

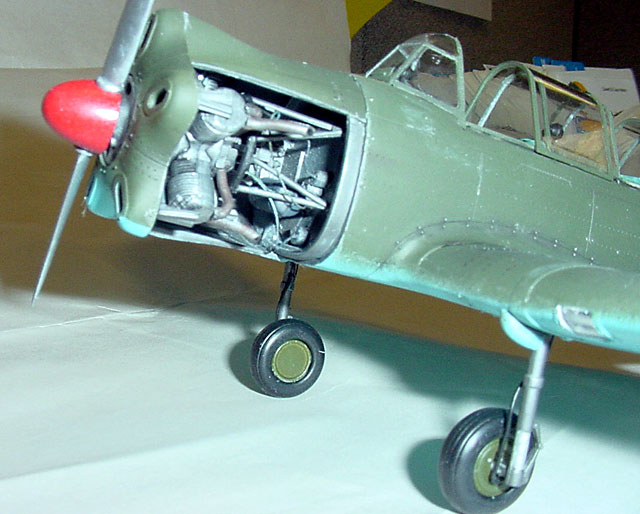
The last time I saw a 1/32
engine as well-detailed as this one, it was on the front end of the
ridiculously-priced Tamiya Zeke….I’m not kidding. This thing is a little
kit unto itself. I used multiple shades of Testor's Metalizers and the
aforementioned Future wash tocomplete this beauty, which assembled with no
problems. There are some more ejector pin marks on the firewall to be
sheeted over, but they were no problem at all. Trumpeter supplies the
option of a clear cowling…I didn’t like that in the Tamiya F4E, and don’t
like it here, either . I sectioned open some of the regular cowling, and
later wished I’d left the whole thing off….the engine is that nice, and
the cowling design is that ugly (sorry, Yakovlev!).
Ailerons, rudder, and
elevators are all mounted with photoetch hinges much like the Tamiya Zeke,
although they are a bit loose…you’ll probably want to glue them in
position (make sure they match the control deflection in the cockpit!).
Again, no problems here.
The canopy sections were
dipped in Future, resulting in crystal clear, thin, seamless (unlike the
Academy F-18!) units that actually fit together like they are supposed to.
The sliding portions are just big enough to fit over the stationary
pieces, and all fit very well to the fuselage.
Outstanding.
 Markings
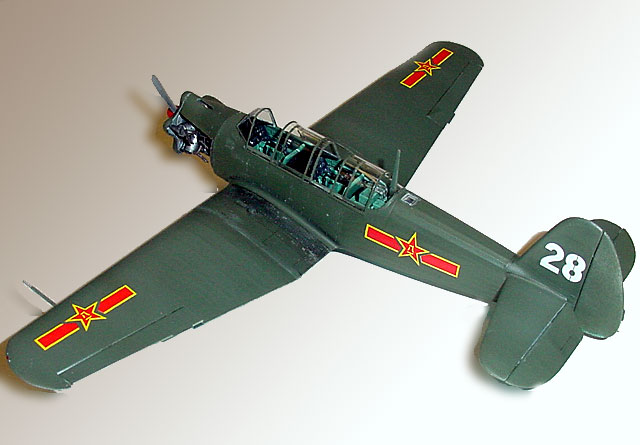
are provided for three aircraft: Soviet, Chinese or North Korean. I chose
the Chinese version because of the more colorful decals, although all
three are dark green overlight blue schemes. Markings
are provided for three aircraft: Soviet, Chinese or North Korean. I chose
the Chinese version because of the more colorful decals, although all
three are dark green overlight blue schemes.
I used Polly Scale Acrylics
for all colors. I shot the fabric-covered portions of the airframe with a
50/50 mix of Testors Acrylic Flat and Semi Gloss, and the metal-skinned
parts with Flat alone. This resulted in a slight tonal difference between
fabric and metal portions of the aircraft…exactly what I was looking for.

The decals laid down
beautifully, and are very thin yet very opaque. Future under them and
Future over them dispatched the film to never-to-be-seen land, resulting
in that painted-on look we all love. I used
Well, that’s it. A very nice
kit, and a lot of fun to build. Even I couldn’t screw this one up,and Lord
knows, I can do that.
Trumpeter’s quality
continues to rise rapidly, and Tamiyagawa had better either light a fire
under their 1/32 department, or get ready to fall on their own collective
wakizashi, because Trumpeter has passed them, and Panda can’t be too far
behind.
Click the
thumbnails below to view larger images:
Model, Images and Text Copyright ©
2003 by Rick Cotton
Page Created 07 February, 2003
Last Updated
17 March, 2004
Back to
HyperScale Main Page |
Home |
What's New |
Features |
Gallery |
Reviews |
Reference |
Forum |
Search