|
Painting the
Black Box Combat Series
1/32 F/A-18C
Cockpit
Part Two
by Dave Roof
|

|
|
Hell Hole with Wiring |

HyperScale is proudly supported by Squadron.com
Now that the main components of the cockpit are done, I will now cover the
remaining items that go in the ĎHell Holeí, as well as provide photos of the
pieces put together.
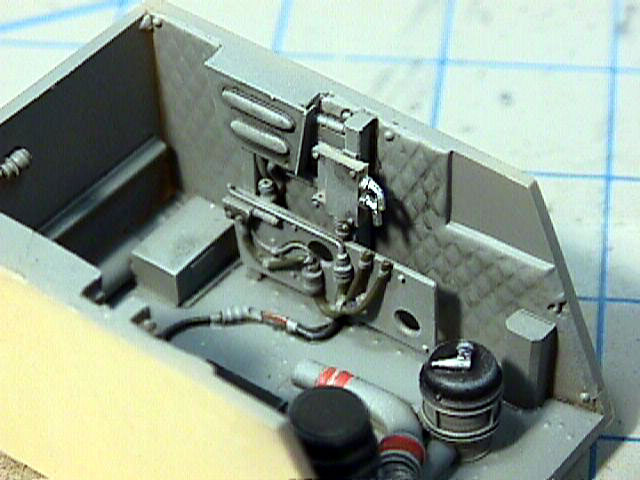
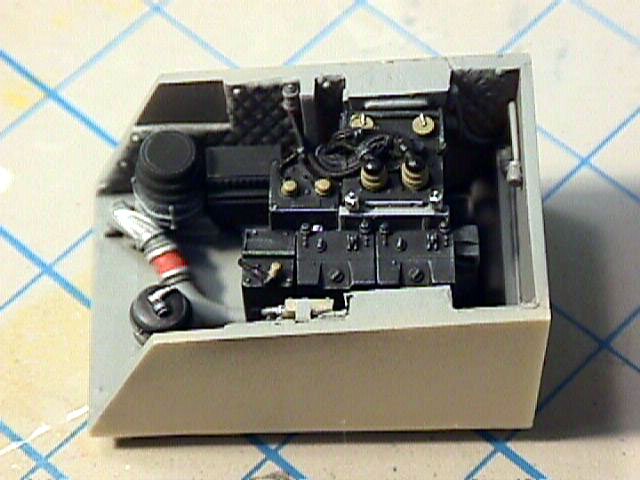
6. The Avionics and ECS Gear
The various ECS gear and Avionics boxes were airbrushed with Tamiya XF69
NATO Black. The large cluster of avionics boxes were then masked, and the
frame was airbrushed with MM Enamel FS 36231. When everything was dry, all of
the items were given a dry brushing of MM Enamel FS 36375. Again, the cannon
plugs on the large cluster of boxes were painted with SAC Bomber Tan, and the
attachment clips for the boxes were painted silver.

Once everything was dry, they were installed in the Hell Hole per the
instructions and my reference photos. It is a tight fit, but everything went
in with no problems. Once the aft deck is installed, most of the gear is
hidden, but we know itís there!
Click the thumbnails below to view
larger images:
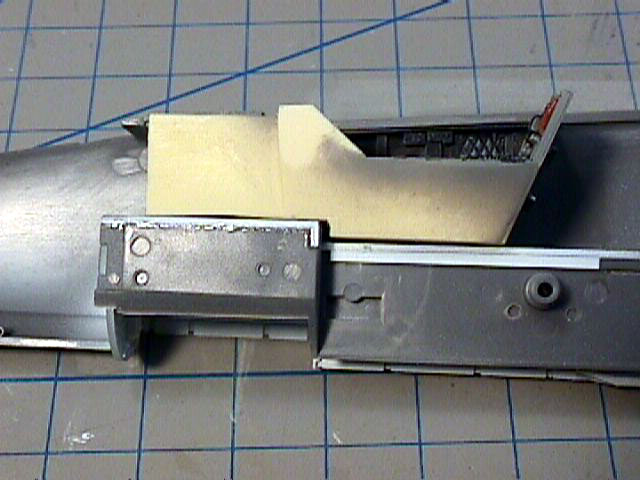
7. Dry Fitting of the Parts
Well, now that all of the pieces are painted and detailed, itís time to
install them in the kit. I have not permanently attached anything yet, but so
far I have had no problems getting the parts to fit. A little sanding will be
needed on the cockpit tub sides, but that is all.
First you will need to remove the kit tub attachment point and the two
ejector pin tabs on the nose landing gear wheel well top piece. Once this is
done, sand the area smooth. You will also need to remove the side wall detail
from each side of the inner fuselage halves.

When the casting block is removed from the bottom of the cockpit tub, it
will fit in the same manner as the kit supplied tub. However, as with all
resin products, a little extra sanding may be necessary. Constantly dry fit to
ensure everything goes in correctly.
Click the thumbnails below to view
larger images:
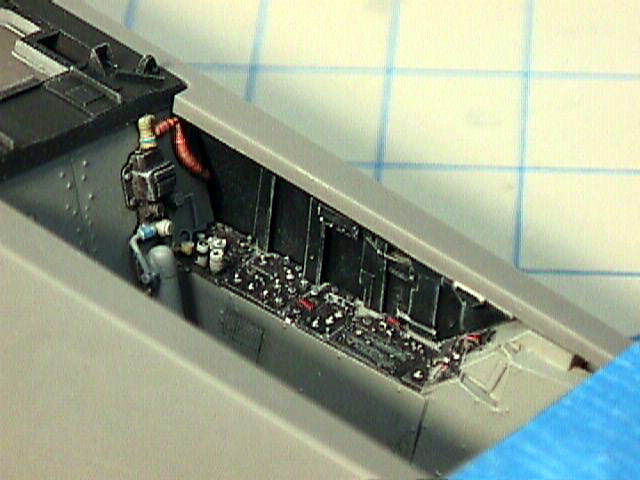
8. Sidewall and Aft Deck Installation
Once you get the cockpit tub to fit properly, dry fit the side walls in
place. No extra work was needed to get these parts installed. Do a quick check
fit of the aft deck, and youíre almost done!

Click the thumbnails below to view
larger images:
Click Here to Return to Part One
Click Here to go to Part
Three
Text and Images Copyright © 2003 by
Dave Roof
Page Created 08 July, 2003
Last updated 17 March, 2004
Back to HyperScale Main Page
|
Home |
What's New |
Features |
Gallery |
Reviews |
Reference |
Forum |
Search