|
Classic
Airframes new 1/48 scale
F-5B Freedom Fighter
by Fotios Rouch
|
 |
|
Northrop F-5B Freedom Fighter |

Classic
Airframes' 1/48 scale F-5B Nato Allies is available online
from Squadron
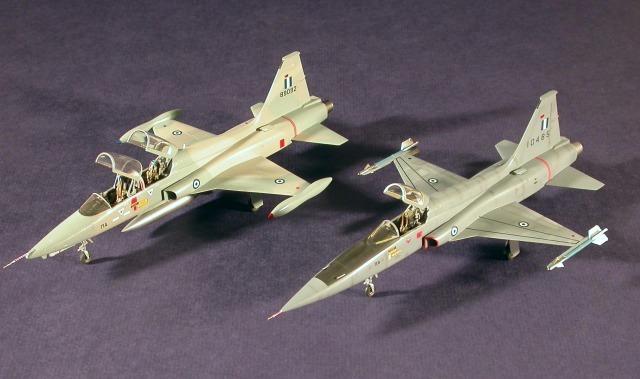
We have covered the F-5A and its history elsewhere on this site.
The F-5B was the trainer version and therefore it bared a closer
resemblance to its first cousin the T-38.
The most important difference was that the F-5B maintained a basic
weapons delivery capability.
There were 12 F-5Bs flying for the Hellenic Air Force at the time frame
where this camouflage scheme originates from.
The ghost scheme was one of the very last schemes the Greek F-5s
wore.
The kit will look familiar in execution to those that have already the
F-5A or the T-38.
The proportions and dimensions look right and the plastic still
shines. Not bad for a limited production kit. The resin comes now with
some extra detail in the area of the exhaust cans. There is blanking
plate and some extra detail to dress up this part that did not seem to
have had the proper attention in the previous incarnation of the kit.
Also this time we get a gun sight too.
Thanks to Classic Airframes for keeping in the loop and improving
your kits!
Test fitting showed that the fuselage fits together great with the
resin tub and no adjustments were necessary.
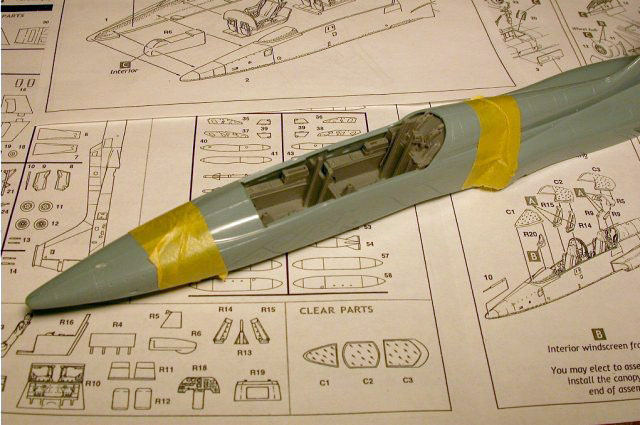
A little problem came up when I tried to fit the front instrument
panel. On the real plane the instrument panel should sit under
instrument panel hood. On my example it was too wide and it would stand
proud of the instrument panel hood.
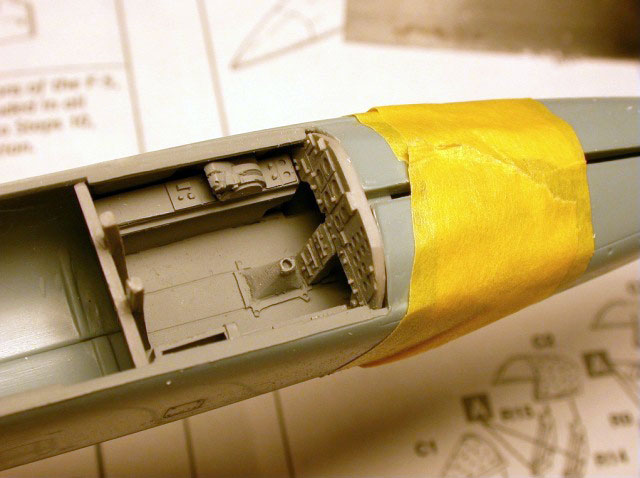
To modify this and get it to what I felt was better looking I
extended the cockpit walls so as to push the instrument panel forward
and also shaved off some resin from the panel so I could tuck it under
the hood.
Click the thumbnails below to view larger images:
The rest of the fuselage construction went on much better and easier
than with my F-5A. The resin underbody plug fit great and the front
resin wheel bay piece fell together great.
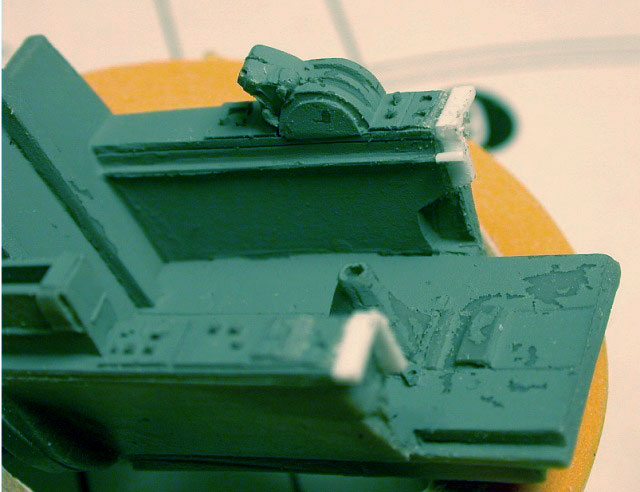
One more thing you need to address is the positioning and height of
the gunsight.
It needs to be cut a little shorter so it fits under the windscreen.
Also make sure to position it so it hangs half way over the instrument
panel hood. As you are working on this subject, you might want to fill
and re-contour the front portion of the windscreen that does fit all
that great.
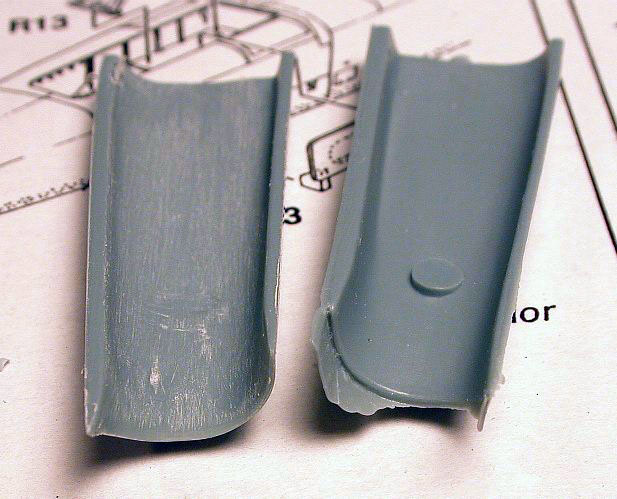
The intakes in my example look a bit rough but they are very easy to
work with. Just turn them upside down and trim the excess plastic as
well as the stub in the middle. The polish the lip so it looks nice and
sharp. Took only a few minutes and is worth the time invested.
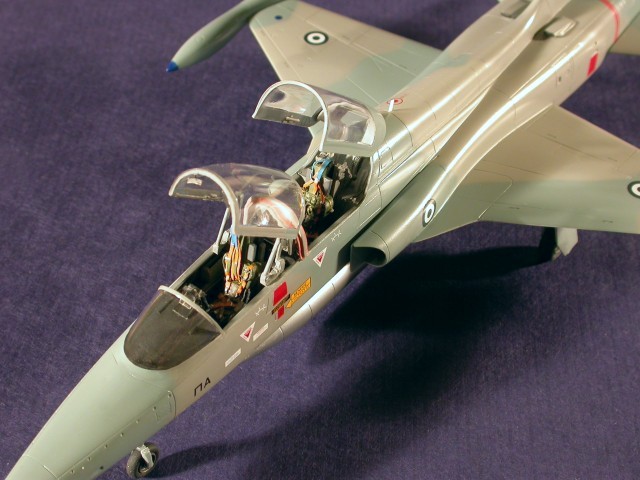
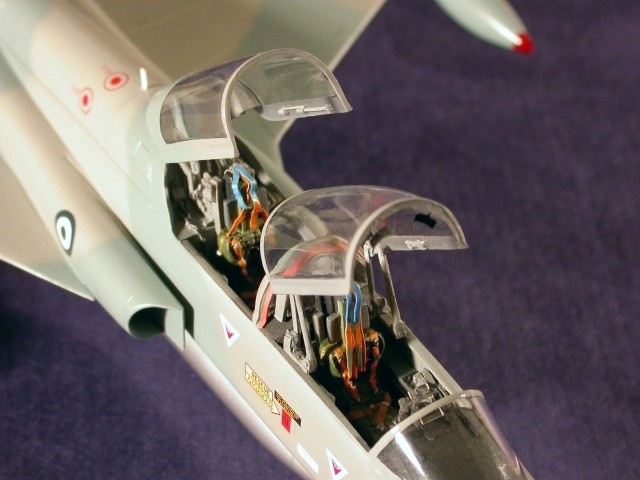
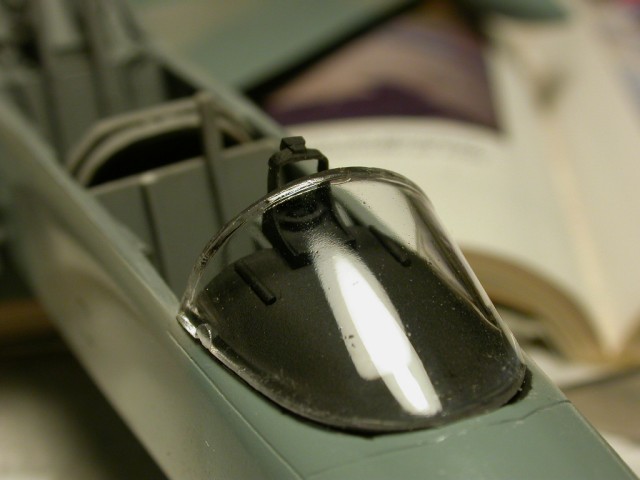
Other things you might want to pay attention to are, trimming the
resin canopy frame that is found between the two canopies. It is a bit
wide and would overhang the fuselage sides. While you are at it, it
might look cool to add the missing wind blast shield that protects the
back seater in case the front guy jumps out on him.
For the specific variant I was going to model I needed something
different that T-38 seats. This gave birth to my Franken-seats. I made
copies of ejection seats I had from Starfighters done by different
outfits. I cast two copies of everything and then cut them up and
reassembled them to something close to the special variant of the Martin
Baker Mk.7 found in one batch of F-5As and Bs. Everything else was
scratch built.
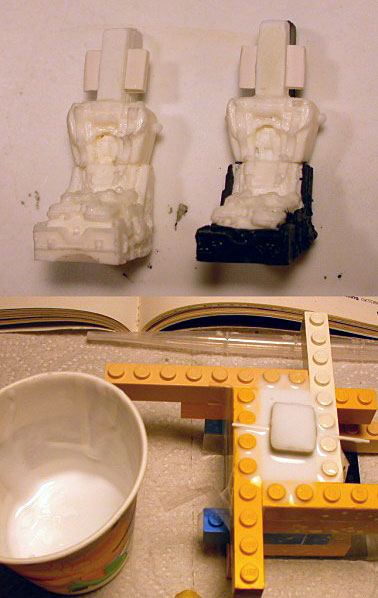
The seats were painted and the complicated seatbelt system was slowly
added. It was made from lead foil.
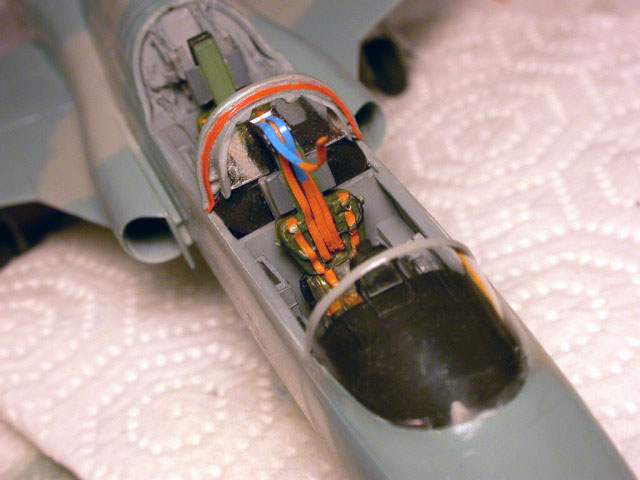
I took a little while to get the canopies to sit as low as the
supporting arms would allow. I also added some antennas that my variant
carried.
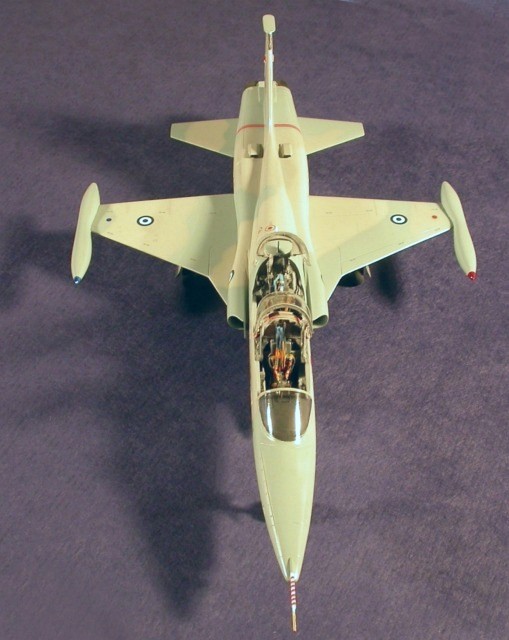
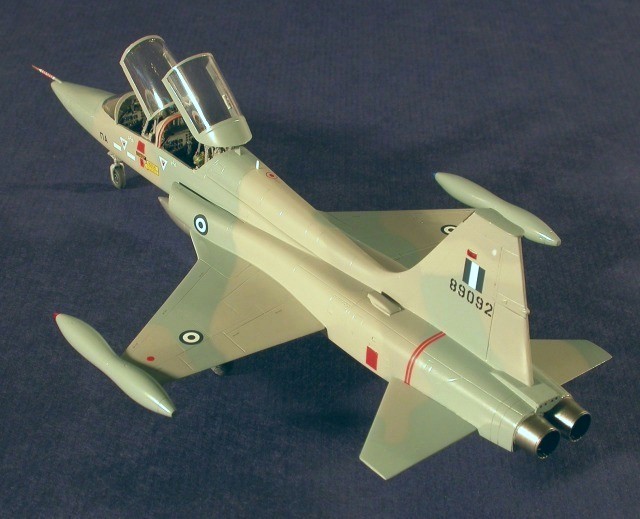
Be careful and do not forget to dial a few degrees of “droop” to you
wingtip tanks or sidewinder rails. All the F-5As and Bs have this droop
and it is a noticeable characteristic of the plane.
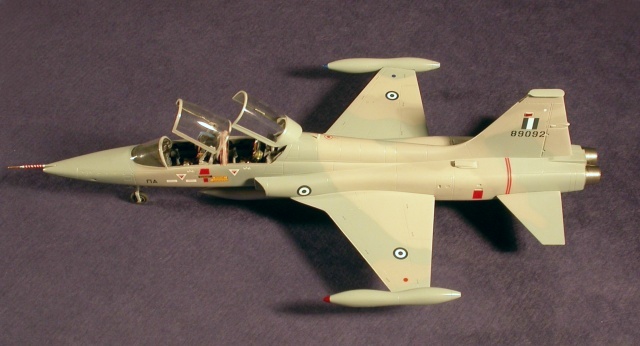
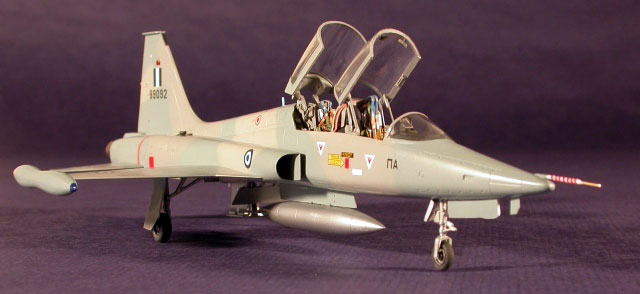
The kit was painted in the ghost scheme using X-tracolor paints.
Although they do take a while to dry up they help me skip a step in the
decal preparation process. As soon as the paint is dry, I apply the
decals and then the satin finish.
Conclusion and Acknowledgements
|
The finished model captures the look of the F-5B and fills a void in
my collection. Many thanks go to Jules Bringuier that provided this
review sample.
I also want to thank my wife for the great painting she made for this
presentation.
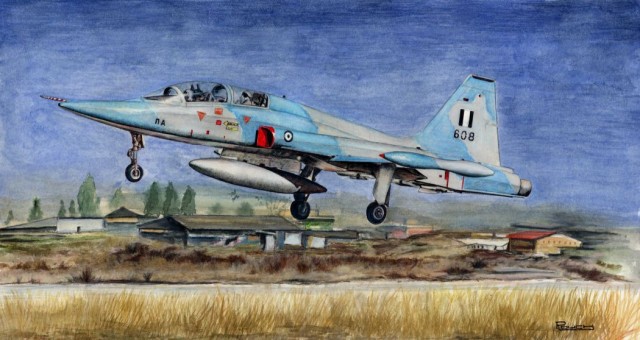
You can see more of her aviation art at
http://www.rouchworks.com
Click the thumbnails below to view larger images:
Model, Images and Text Copyright © 2004
by Fotios Rouch
Page Created 28 June, 2004
Last Updated
28 June, 2004
Back to
HyperScale Main Page
|
 Home
| What's New |
Features |
Gallery |
Reviews |
Reference |
Forum |
Search
Home
| What's New |
Features |
Gallery |
Reviews |
Reference |
Forum |
Search