|
Sturmgeschutz III Ausf G
by
Ian Robertson
|
|
|
Sturmgeschutz Ausf G |

Tamiya's 1/35
scale Stug III Ausf G is available online from Squadron.com
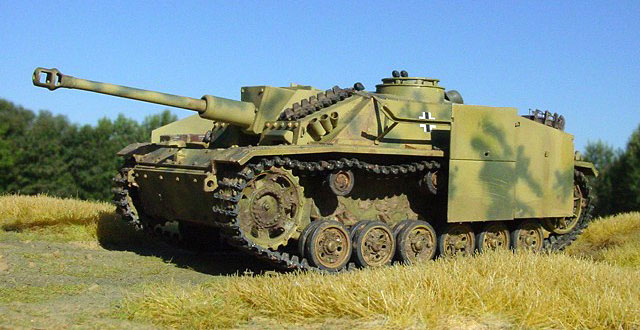
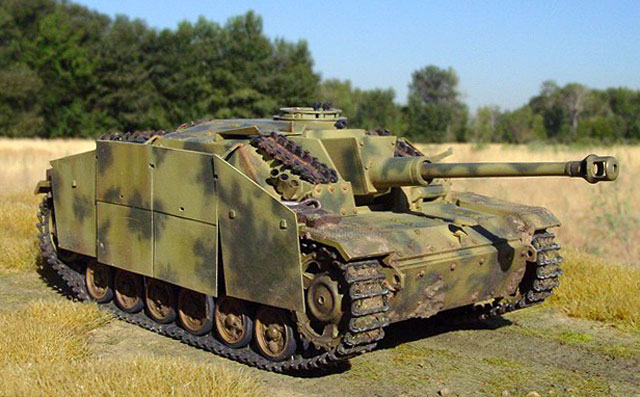
The Sturmgeschutz IIIG (StuG IIIG) was based on a
Panzer III chassis with the rotating turret removed and a long-barreled
75mm gun mounted directly onto the hull. Initially intended as an
infantry support vehicle, many StuG III's found themselves pressed into
battle in other roles.
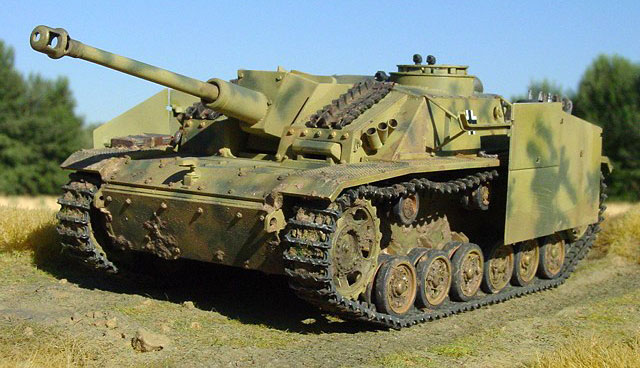
The model I have built is Tamiya's 1/35 StuG IIIG (early version) in the
markings of a vehicle used on the eastern front at Kursk during the
summer of 1943.
Tamiya's
1/35 Scale StuG III Ausf G
|
Tamiya's StuG IIIG (kit #35197) is an excellent kit
for the beginner and experienced modeler alike. Although it builds into
a fine model out of the box, I made the following modifications:
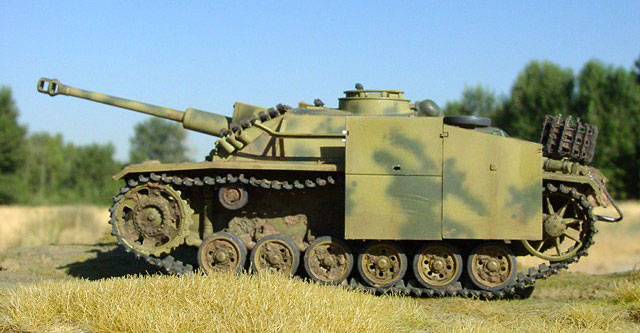
-
Individual link tracks
from Model Kasten replaced the one piece vinyl kit tracks
-
The single piece side
skirts in the kit were replaced with thinner individual panels fashioned
from Evergreen sheet styrene.
-
Stowage on rear deck made
from spare crates covered in wet tissue paper
-
Wehrmacht helmets from
spares box
-
Tow cable made from nylon
string
Building the kit was a snap - the fit is near
perfect and the detail is superb. Apart from some Mr. Surfacer 500 and
subsequent sanding to hide the seam on the main gun barrel and muzzle,
very little extra finishing work was required.
For me the only weak point of the kit is that Tamiya sells photo-etched
grille covers as an accessory; no attempt is made to simulate the grille
covers in styrene. While not essential, the photo-etch does add a lot of
realism to the model.
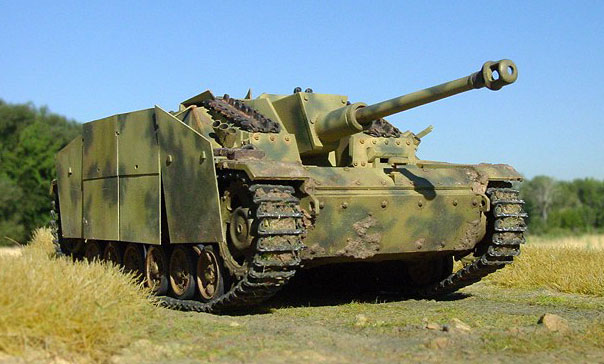
I pre-shaded the model with a combination of dark
red-brown and black, and then applied the base color of dark yellow
(Tamiya XF-60) followed by mottles of field gray (Tamiya XF-65).
Pre-shading served two purposes: (1) it covered the yellowish-tan
styrene of the model, making it easier for me to ensure that the XF-60
went on uniformly, and (2) it provided the subtle shadows and accents I
was looking for in the finished model. The shadows and accents were
further enhanced by a series of washes using model master burnt sienna
and umber once the main camouflage had been applied.
The tracks were painted a mixture of Polly Scale dark brown and black,
followed by several washes of light brown and black until the desired
look was achieved. As a final touch, a very light dusting of SnJ
metallizer polishing powder was rubbed with a cloth on the tracks to
give a metallic sheen to exposed areas.
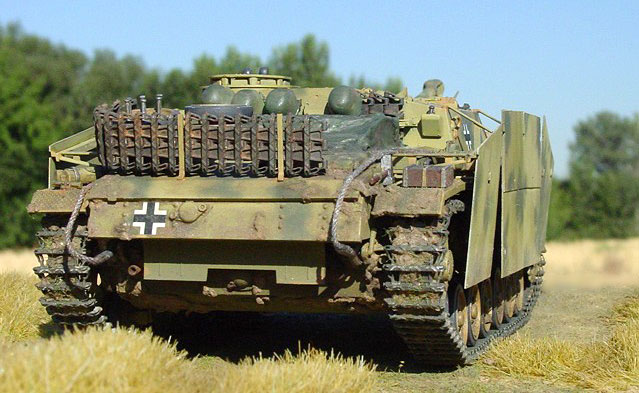
Once the tracks had been added I applied "mud" to the lower hull,
wheels, and tracks. Some splashes of mud were also added to the upper
deck. The mud consisted of celluclay mixed with white glue, water, and
fine sand. The mixture was tinted brown with acrylic paint and applied
to the model by hand and with an old brush.
I used sandpaper to scuff the exterior surface of the side skirts to
simulate a worn and weary look. In addition, a couple of panels were
left off since side skirts frequently dislodged during combat and
movement through brush.
Images of the completed model were taken outdoors
with a SONY digital camera set at its highest picture resolution (2048 x
1536 pixels). Other camera settings were as follows: 200 ISO film speed,
800-1000th/sec shutter speed, F-stop 8.0, and fixed focus distance of
either 20 or 30 cm.
Images were cleaned up using Adobe Photoshop 6.0
for the Macintosh. Specifically, the interface between the base and
background were merged using the software's "blur" tool, and edges in
some photographs were sharpened using the "sharpen edges" tool.
Sharpening images in such a way helps to restore some of the clarity
lost during image compression.
Click on the thumbnails
below to view larger images:
Model, Images and Text Copyright ©
2004 by Ian Robertson
Page Created 02 February, 2004
Last Updated 17 March, 2004
Back to HyperScale
Main Page
|
 Home |
What's New |
Features |
Gallery |
Reviews |
Reference |
Forum |
Search
Home |
What's New |
Features |
Gallery |
Reviews |
Reference |
Forum |
Search